32 Weeks

This week was a rough one.  I made it 7 months sickness free…but my luck couldn’t last forever…the death cold found me.  I should have known when I went to the doc for my appointment (pre getting sick) and the nurse commented that almost everyone she had seen in the last 2 days was sick.  Normally I would just OD on cold medicine and keep on truckin’….but obviously that wasn’t going to work now that I’m growing a human.  Not to mention this cold was an evil one…I couldn’t smell or taste anything for 5 days…talk about miserable!  My meals consisted of cereal and soup.

Even though I felt like death this past week…it doesn’t overshadow the really fun thing that happened….my BFF Shelley had her baby!!  A Girl!!  She’s super cute and I’m bummed I can’t just jump in my car and go visit them.

We’ve been able to chat here and there on gchat and via text so I’m getting all the info I can out of her about being a new mom, labor, breastfeeding, etc.  It has also got me thinking/realizing that this WILL BE ME in 8/9 short weeks!  I’m going to do my best to not get overly eager and instead enjoy these last weeks baby free with Lance.

We also started our 6 week birthing class this past week.  We covered pretty basic stuff that I already knew…but the remaining classes look to cover a variety of topics (labor/delivery, postpartum, breastfeeding) so I think we will end up learning a lot and hopefully it will prep us both for what is coming.

Oh and I’m slowly making progress on the nursery!  I was able to whip up an easy DIY crib skirt while watching football this weekend.  I used this tutorial and then just added ties to attach to the spring frame part…this way I can hopefully just move them in as we move the mattress down.  For as ghetto as it is (only 3 sides…shhhh) I think it looks pretty good!


Adventures in Vinyl

This past weekend Lance & I spent most of Friday and part of Saturday putting in some vinyl plank flooring in one of the bedrooms downstairs.  So this may sound easy peasy to all you DIY experts…but for us (so NOT the handy/diy type) this was a pretty big accomplishment!

I was opposed to vinyl at first (cheap, ugly, blah) but when we decided that we wanted something easy enough to do ourselves, inexpensive, and water-safe….vinyl just fit the bill.  Plus after pulling up the nasty carpet that was there we discovered the concrete floor wasn’t quite even with a “hill” right in the middle.  So anything solid and flat (like laminate i was originally wanting) was just not going to work.  The plank wood-looking stuff is what sealed the deal for me…it’s really not that bad!  Considering we sprung for the real wood floor upstairs…we decided it was OK to go cheap for this room.

Up to this point we really only used the room for 2 things; holding the cat litter boxes, and doing Insanity.  Now that we need to get started on the nursery…we need the room to also double as my craft storage area.  It’s amazing what some paint and new flooring can do…I feel like it’s a whole new room…and I suddenly don’t hate it like I have since the day we moved in!  So hooray for that!

Ok now for the pics.

Here’s a small glimpse of what the room looked like before I started painting (it seems I deleted all the old pics…evidence of how much i hated the room to begin with):

And now here it is after!

We still need to do some trim along the bottom edge of the wall…thanks to the wood paneling not going all the way down to the floor in a lot of areas…but we’re in no rush…we’ll get to it when we get to it.  I was able to successfully migrate all my knitting/sewing/crafting crap down there and we still have plenty of space for working out!

Now onto the nursery!!

**Sorry no week 19 update…I will do a week 20 one I promise!  Complete with ultrasound pics from today!!  Get excited!

So I painted a rug.

That’s right friends..I joined the chevron rug-painting bandwagon.  What can I say…that darn Pinterest made me do it!!! (If you don’t know what Pinterest is…I suggest you crawl out of the hole you’ve been living in and join…you can thank me later)

When I came across Cape27’s blue version I was convinced I had to at least attempt this rug-painting thing.  And so off to Ikea I went…picked me up an Erslev rug…and got to taping.

At first I tried to just free-hand the design…but 4 hrs, 1 pkg of frog tape, and 2 really sore knees later…I had only managed to get 2 chevron rows done.  It was at the point I realized that maybe I should make a stencil.  So I did…and let me tell you…Best Idea EVER!!  Seriously…if you attempt this…make some type of stencil or guide.  So much easier than measuring it all out.

Ta-Da!  All taped and ready for some paint!  I used Valspar’s Tidal Teal.  The painting actually took a lot longer than I thought…I spent about 4 hours total on it over 2 nights.

All painted!  I let it dry for about 24hrs before I peeled back all the frog tape (which btw worked amazingly!) Now the rug is happy at home in our little seating area/dinning room.

This room is still very much a work in progress.  We still need some type of coffee table, a chair or two, stuff on the walls, and some curtains.  We’re going with the grey/yellow/turquoise color combo.  Here’s a full view of the room so far…

The rug under the dining table is this one from West Elm in Clay.

Oh and if you’re curious…this is what this room looked like shortly after we moved in last June.

Um can you say BEIGE?!  Basically everything in this room has changed…crazy town!  New hardwood, two-tone grey paint, rugs, and some new furniture has really made a huge difference.  Up next is finding some yellow fabric to make curtains with, and putting together a gallery wall behind the dinning table!  Woohoo!

hodgepodge of lovelies

just a sampling of lovely stuff around the interwebs…

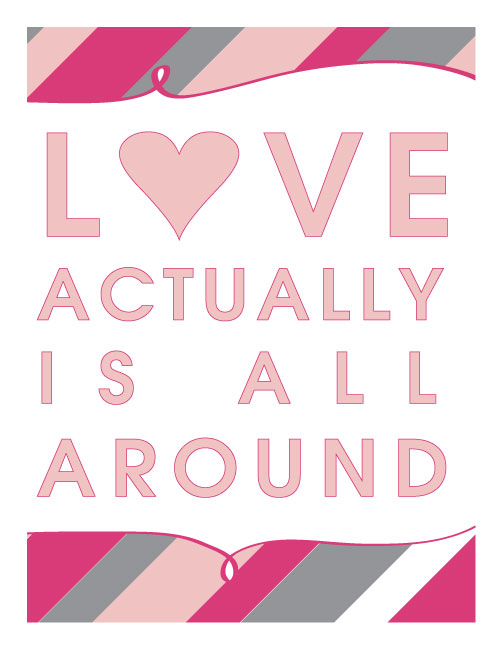
one of my favorite quotes from one of my all time favorite movies…found here…go get your own FREE printable poster!

image via here

this cute pillow case set…that you can make yourself!  Creature Comforts has the iron-on transfor pdf that you need…so go get it!

oh and  you can also grab the freebie printable for these cute mini-chocolate wrappers!

via here

hmmm…it appears I am in a Valentine’s day sort of mood.

Be My Bridesmaid?

Pre-wedding blog reading Steph would have just called and asked her friends/sisters to be bridesmaids…

Wedding blog junkie Steph knew that asking her friends/sisters to be BMs required something a little bit more special…I mean after all these girls are gonna be by my side on the big day and destressing me when the time comes so why not show them how much I appreciate them from the get-go?!?

Taking inspiration from posts via Miss Ducky on Weddingbee and the Budget Savvy Bride herself…I set off on my first official wedding related DIY adventure.  Be My Maid cards!

I liked how BSB cut out sketches of dress styles she liked…and I liked that Miss Ducky used pictures on the front of the cards of her and the girl she was asking…so I did my best to put these two ideas together.

IMG_0500

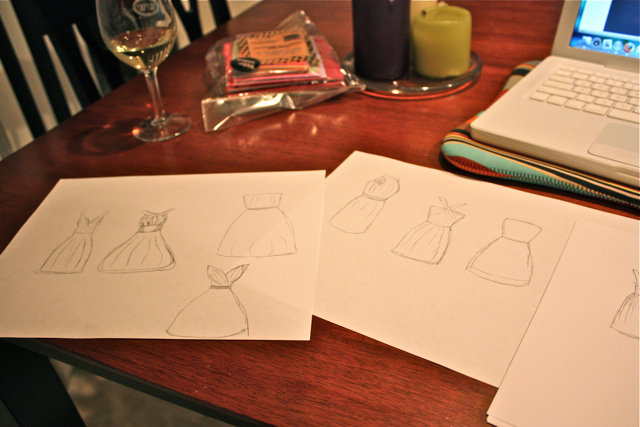
step 1:  make dress sketches.  drinking wine is optional but highly recommend.

IMG_0515

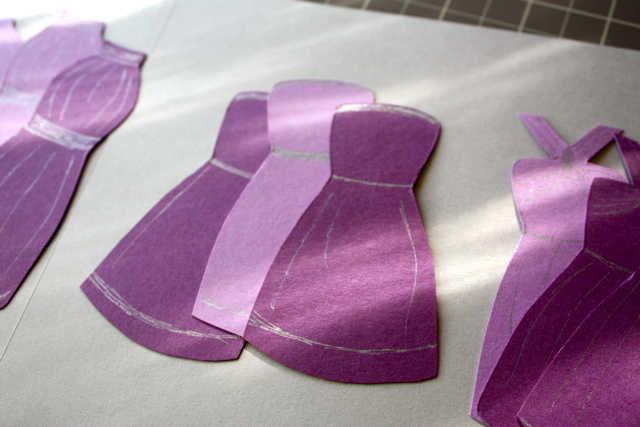
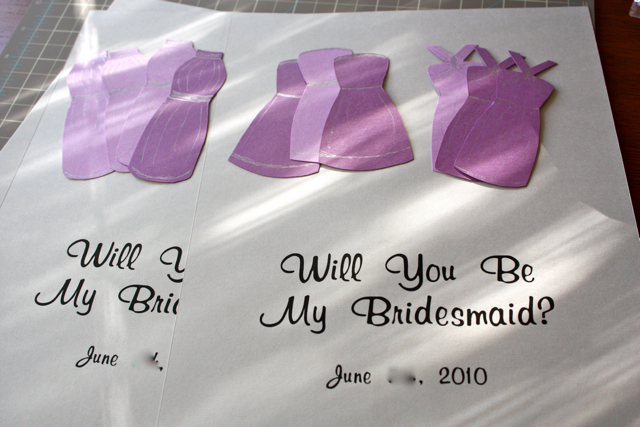
step 2:  trace and cut out favorite sketches on pretty purple Martha Stewart cardstock…add cute details with silver pen.

IMG_0518

step 3:  find cute font and print out whatever text on inside of grey cardstock paper…I don’t remember the font but I’m pretty sure I got it from dafont.

IMG_0684

IMG_0699

step 4:  use bone folder to create that perfect crease!

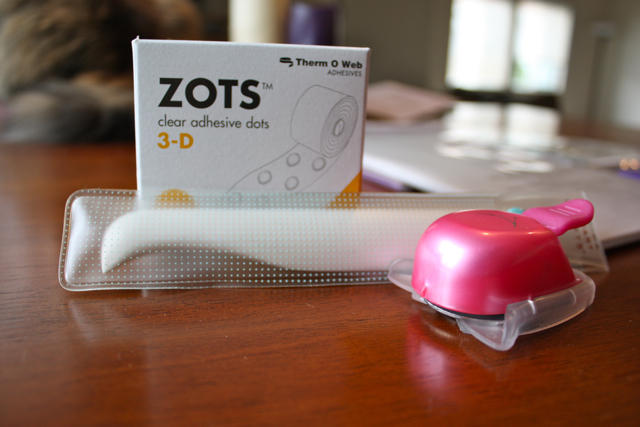
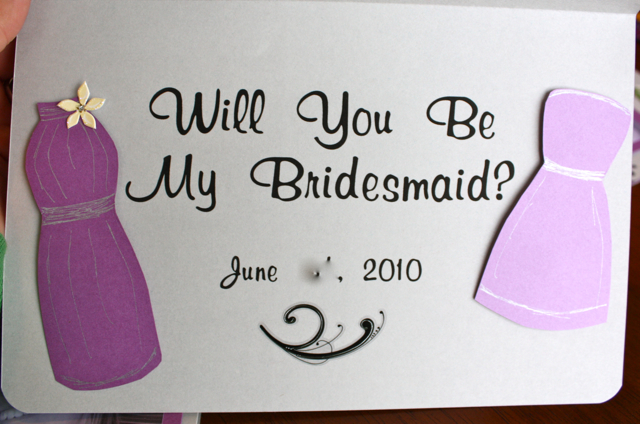
step 5:  affix cute dresses to inside of card with glue dots (best thing ever!)

step 6:  adorn with cute stickers to add a little flair and round the corners with corner rounder (both optional)

IMG_0689

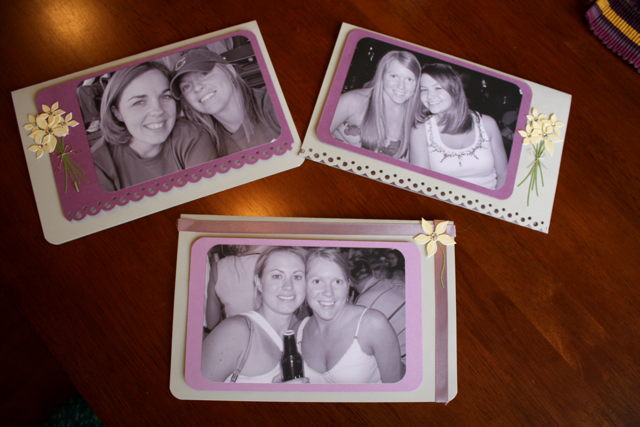
step 7:  find cute pics of you with your “besties” and print them off.  i liked the blk/white look with the cards instead of color so I went with that.  affix pic to purple cardstock and attach to front of card with glue dots to give it some dimension.

step 8:  decorate outside of card with whatever else you got in your craft stash…ribbon, edge cutter, stickers, etc.

IMG_0686_2

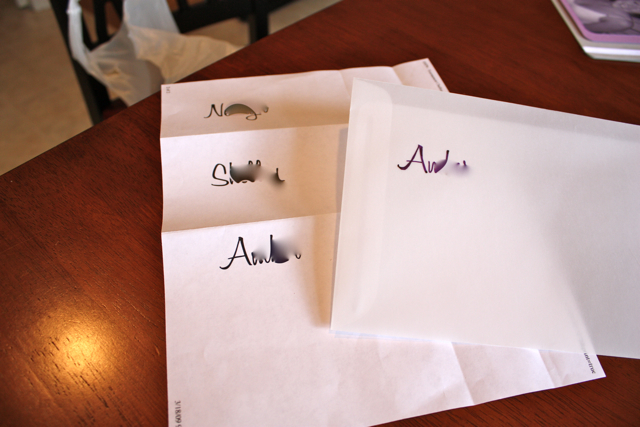
step 9:  print out names in pretty font..unless you are blessed with pretty handwriting…and trace onto vellum envelopes with black sharpie.

IMG_0703

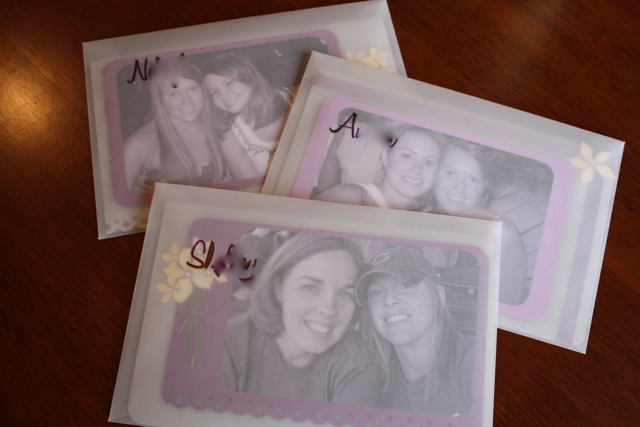
step 10:  insert card into matching envelope

IMG_0706

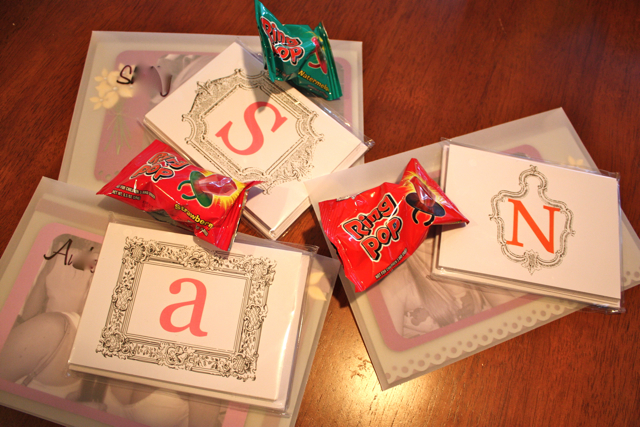
step 11:  throw in some cute initial note cards and the oh-so-popular ring pop and send them on their way!

Sorry for all the smearing out of names/dates…gotta keep some things private.

So thats 3 BMs…and the other 2 are my sisters.  I didn’t have any pictures with them so I made ther cards a little different.  They actually turned out way cute too but I didn’t snap any photos!  I just put a bunch of the cut-out dresses on the front instead of a picture.

All the girls seemed to really like them…what do you think?

Oh My Buttons!!

In case you missed it…Darci over on With This Ring posted awesome and easy DIY’s this week using….you guessed it…BUTTONS!!  …and an added bonus….the color purple!

(remember I like buttons!)

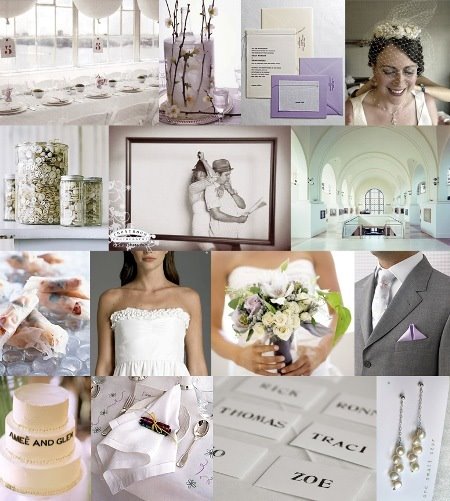
Using this Snippet & Ink inspiration board…(how awesome is that grey suit…and the bouquet!?!)

snipink_purpbutt

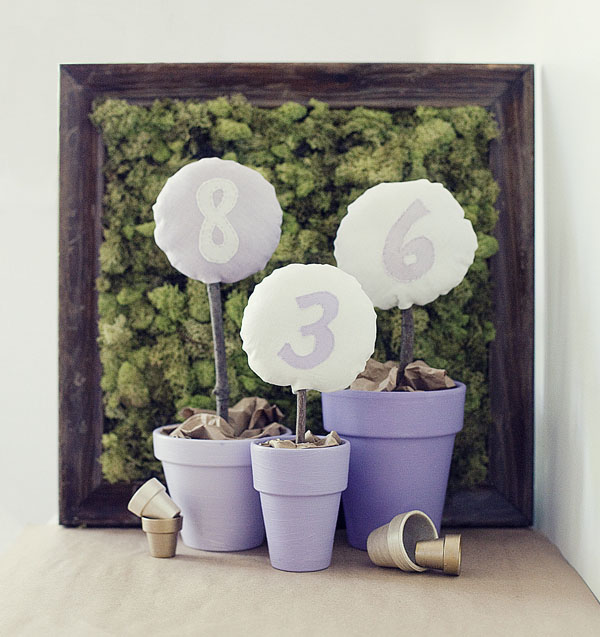
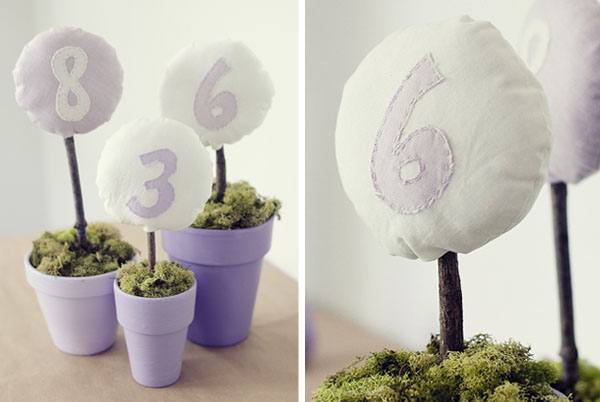
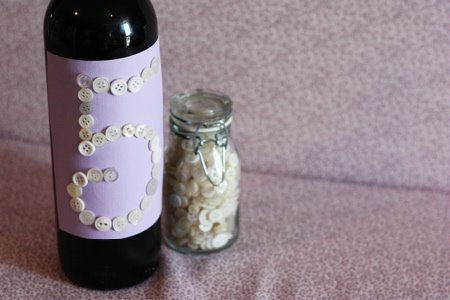
Darci came up with some super cute wedding DIY’s…including these awesome wine bottle table numbers!

winebottle_tablenumb1(from here)

I’m not sure if we’ll do table numbers…but these are at the top of my list if we do!  I’m pretty sure Lance and I would have noooo problem coming up with…say…249+ wine bottles* by next June!

Go here to check out more cute ideas!

* ok we don’t actually drink that much wine…